You can speed up the process of creating a custom brush in Procreate by using Adobe Firefly. The option to quickly use this generative AI to create a mix of images from prompts makes things easier, but you still need to know a few things to get the AI image to work as a Procreate brush.
Procreate has emerged as one of the most popular and powerful applications for artists and designers (read our Procreate review for more details). One of the key features that sets Procreate apart is its extensive library of customisable brushes, allowing artists to create unique and stunning artwork.
However, sometimes you may want to explore beyond the pre-existing brushes and design your own. A new fun way to explore this is with Adobe Firefly, the new generative AI. Read my feature how to use Adobe Firefly in your workflow for more on this app. In this tutorial, I will guide you through the process of creating a Procreate brush using Adobe Firefly.
Below I will walk you through the steps to create a custom Procreate brush using Adobe Firefly. Adobe Firefly is a powerful and intuitive online generative art tool from Adobe that enables you to design and fine-tune your artistic prompts and ideas. Whether you're looking to create realistic textures, unique brush strokes, or specialised effects, Adobe Firefly provides the tools to bring your imagination to life.
01. Using my existing art

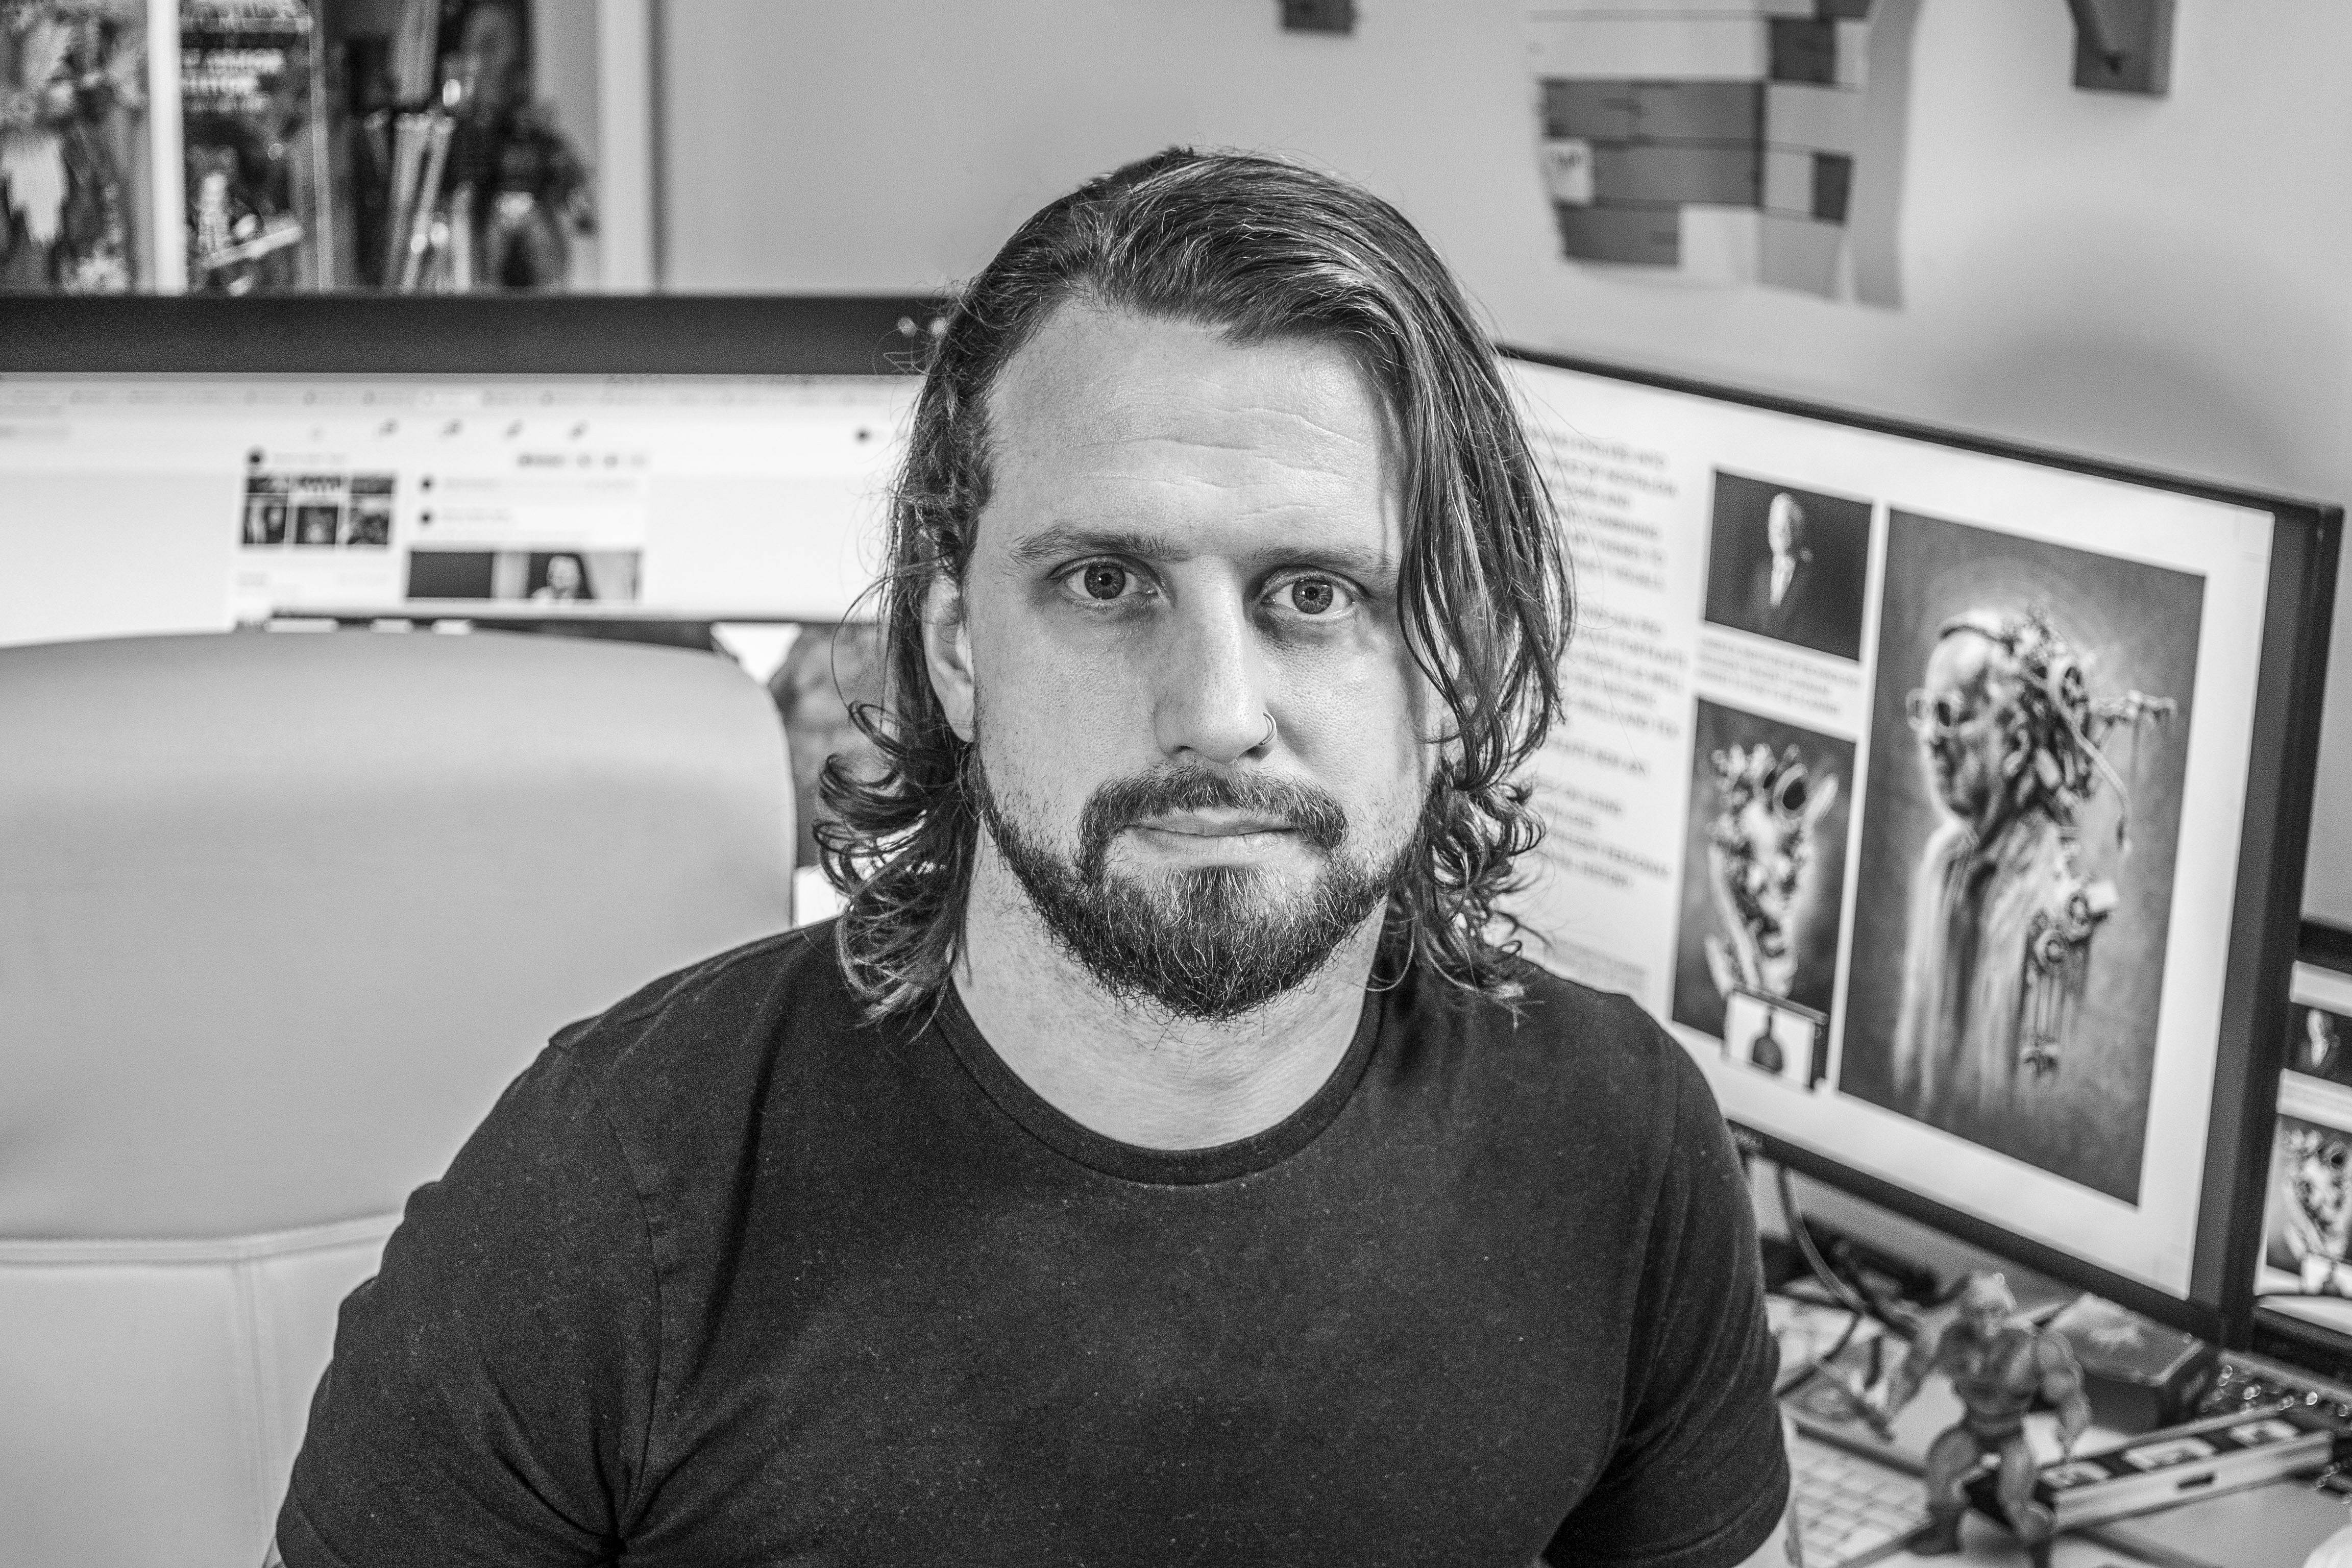
I have been developing this image of 1980s villain Webstor from the Master of The Universe. I thought to would be a good place to start playing with Adobe Firefly to create a set of spider web brushes and textures. To start I went to the Adobe Firefly beta website to generate some images. You will need an Adobe account to sign in and then you're good to go.
02. Searching for images in Adobe Firefly

Next I search using terms such as "spider web on black background" or "spider web in dark cave" to create images I could use as a base to accompany the 3D render of my character I have previously created with ZBrush, Keyshot, Photoshop and Procreate. (Read our list of the best ZBrush tutorials for more details on how to start sculpting in 3D.)
03. Prepping Firefly images in Photoshop

Once I am happy with the results I download some of the images and open them in Photoshop to prep them for the next stage. The first thing I do is use the Lasso tool and Edit > Content Aware Fill to remove the Adobe watermark.
I then upscale the artwork by selecting, Image > Image Size and change the resolution to 300dpi at 4000 x 4000 pixels. I use Image > Adjustments > Threshold to create a solid black and white image to make a brush from.
The next step is to make a Photoshop brush, which I can export to Procreate is by pressing select from the top bar then Select All and finally Define Brush pre-set. Your image must be under 4000 pixels in order for this to work; 2500 pixels is a good safe size too.
04. Saving and exporting to Procreate

Once I am are happy with the new brushes I can select them from the brush drop down menu and export as an .ABR file to upload to my cloud, s here I'm using Dropbox, these can then be found on my iPad later. I also save JPEGs and PNGs of the images to directly import to create brushes in Procreate as a second option.
05. Adjusting the brush in Procreate

Now that I have the brushes imported to Procreate, I select the brush and double-tap it to open the options window. There are a number of options and sliders to play with and try new variants of the same brush. Unlike Photoshop you can use the right-hand side of the brush window to test your brush strokes live as you adjust it, which is a lot of fun and encourages experimentation.
06. Testing the custom brush in Procreate

When I finish playing with the adjustments I test my brush on the composite image that I airdrop from my laptop. I perform a quick blend using an oil brush in Procreate. This is often part of my process now, as I have moved away from my large screen tablet connected to my laptop. Making brushes like this now means I’m using Procreate more and more in my workflow daily.
07. Create the brush in Procreate

Next, I also try a diffident method to create brushes from images in Procreate directly. First off, I create a blank canvas or work on an existing one. In the brush palette press the 'Plus' button in the top tight hand corner. Next go down to the Shape option. In the right hand corner of this options window press the Edit button so you can import your own image.
08. Experiment inside Procreate's brush editor

You can use the same options as previously mentioned in order to create a new brush or texture brush from this image. Because I painted the edges black in Photoshop and the shape is not cut off at the edge it should be very easy to experiment with it to create a fun brush to use.
From my experience of creating these type of brushes in Photoshop for many years before owning Procreate was released, I tend to first adjust the size, opacity, pressure, jitter and rotation of the brush, which can be found in the Dynamics tab similar to Photoshop.
Keep tweaking and experimenting in Procreate's brush editor as there are some powerful tools in this app, such as materials. These options can add great subtlety to your brushes and textures. Experimenting with all these sliders will take time but familiarity will lead to faster and better workflow.